Afghan In-The-Round

Supplies:
I used a size 8 long circular (and also a size 6 circular, details below)
I used up 2 very large skeins of the purple boucle, 2 skeins of pink fleece yarn, and 1.5 skeins of the acid green
4 stitch markers to mark the corners

- Cast on 80 stitches on a size 8 circular (or straight, depending on preference). I used long-tail/slingshot cast-on.
- Work 6 rows in stockinette
- Row A: Knit 5, [yo, k2tog], repeat [] until 5 stitches remaining, knit 5
- Row B: Purl 6, [turn stitch around and purl, purl], repeat [] until 5 stitches remaining, purl 5
- Repeat Rows A and B until the piece is nearly square
- Work 6 rows in stockinette
- Keep 80 stitches on needle - don't bind off!
- Pick up 80 stitches along what was the left side of the square
- Pick up 80 stitches along the cast-on edge
- Pick up 80 stitches along what was the right side of the square
- Rearrange stitches so that you can start working where you left off with the last row of stockinette. Now it's time to knit in the round.
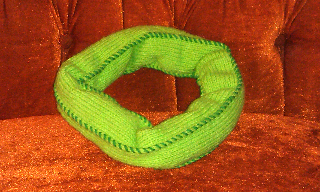
- It's apparently very amusing to those who saw me doing this, they seemed to think that it really looked like I was knitting some sort of enormous rastacap. And it just kept growing!
- Row 1: {Knit 2, yo, pick up stitch before next stitch and knit, [yo, k2tog], repeat [] until 2 stitches remaining, yo, pick up stitch before next stitch and knit, knit 2, place marker}; repeat {} along each of the 4 sides.
- Row 2: {Knit 2, [knit into back of stitch, knit 1], repeat [] until 2 stitches remaining, knit 2}, repeat {} along each of the 4 sides.
- Repeat Rows 1 and 2 until you use up most of the yarn you want to include!
- To add in new colors, I simply tied the end of one yarn ball to the start of the next - nothing complicated! When I discovered an extra 1/2 ball of the green that I had forgotten, I just cut off the purple and added it in.
- At this point, I started getting too crowded on my size 8 circular, so I split the stitches between the size 8 circular and the size 6 circular I had on hand. You could definitely use 2 size 8s if you got 'em. Starting with the next upcoming stitches to knit, I slid those onto the new circular, and kept sliding more stitches until I had about 2/3 or 3/4 of the stitches on the new circular. At the meeting of needles that wasn't where I was actively knitting (where it attached to the ball of remaining yarn), I tied up those ends with a rubber band to keep the stitches from falling off. Then I knit up a bit until it got too crowded on the 8 circular, then bound up the active needles with another rubber band, undid the rubber band around the inactive stitches on the far side, and slid many stitches over to the size 6 circular to free up room on the size 8. The arrangement needs to be kept so that the size 8 is always the one receiving new stitches. It's a little complicated and time consuming, but it saved my fingers and hands so that I didn't have to worry about forcibly holding everything onto the over-crowded 8 circular.


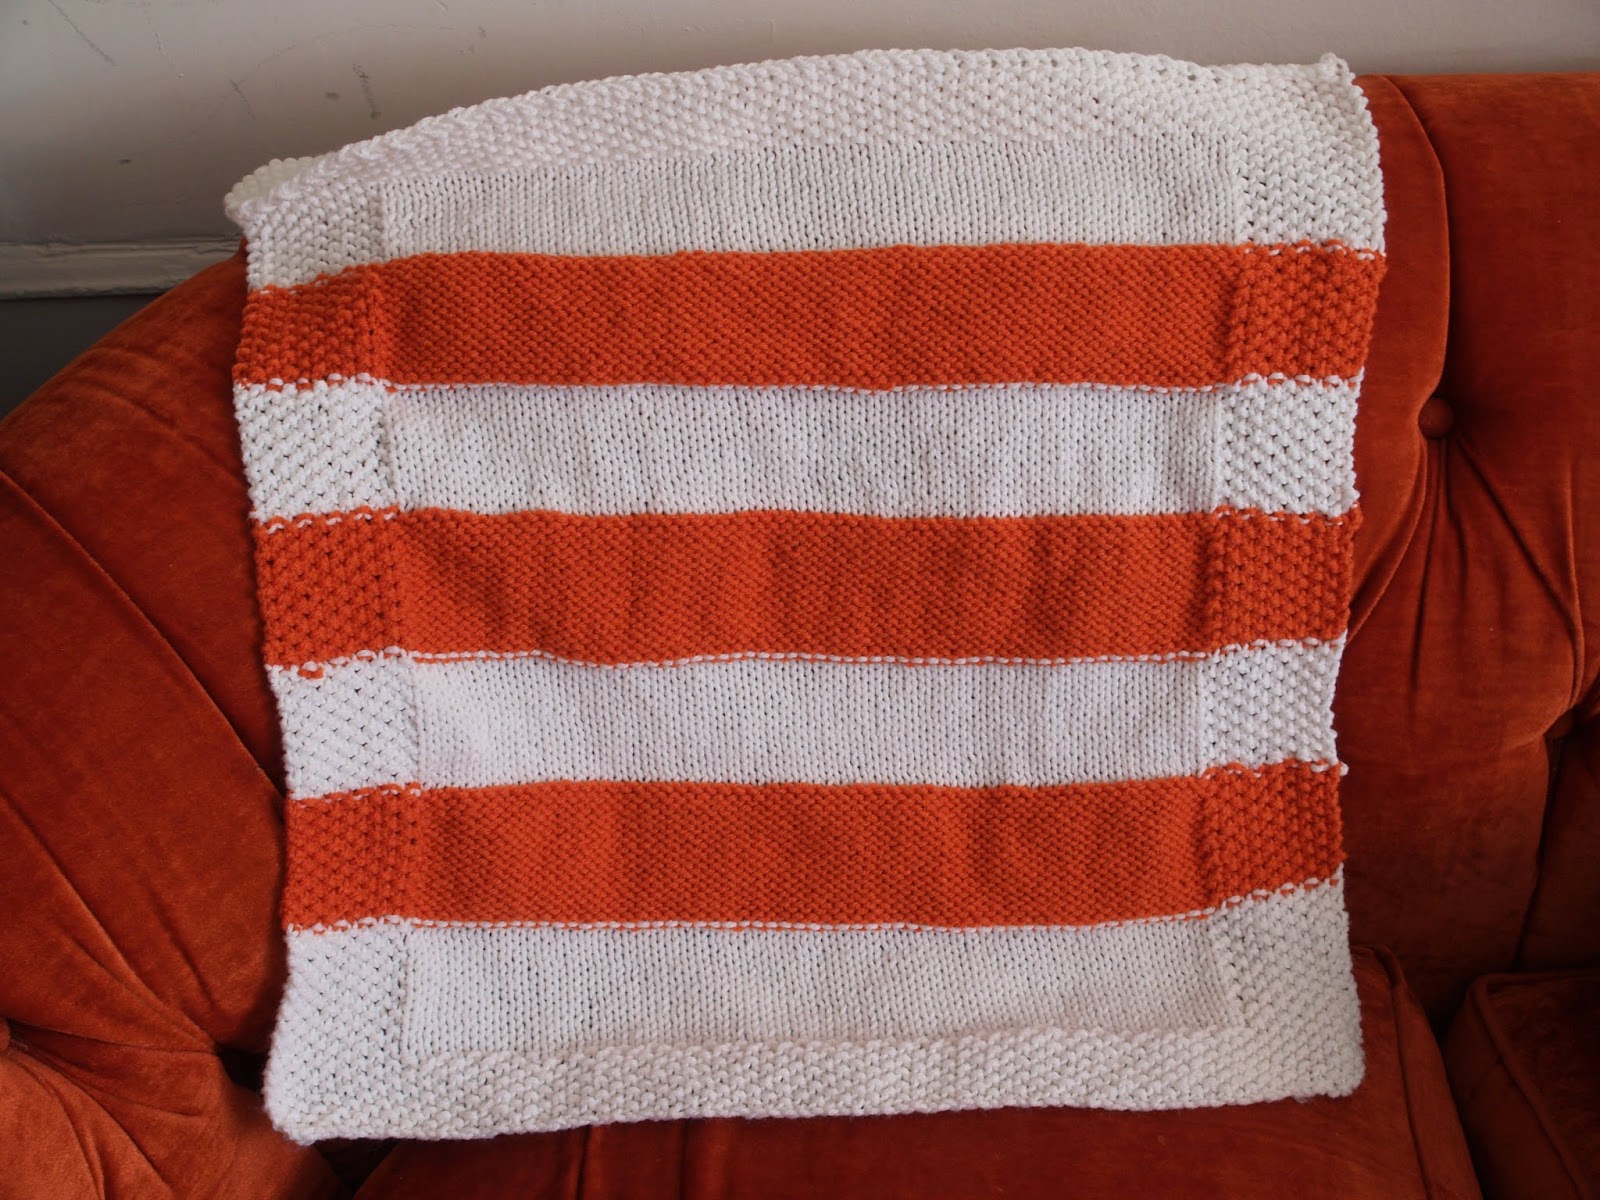
- After your last Row 2, simply knit in the round (recommend at least a few times around, more if you want a more solid border to the blanket.
- When you're near the end of your yarn, use the last of it to bind off!

Comments
Post a Comment